Supported features
The Apilio-Tado integration enables you to create Actions in Logicblocks to change the zone status for heating devices.
It is not possible to create conditions based on Tado device status information.
Connecting to Tado
Connecting Apilio to your Tado account is a two step process.
Step 1: Authorize
Go to https://app.apilio.com/user/connections and scroll down to the “Tado” section:

Then, tap “Step 1: Authorize” to open a new window from Tado with the verification code pre-filled:
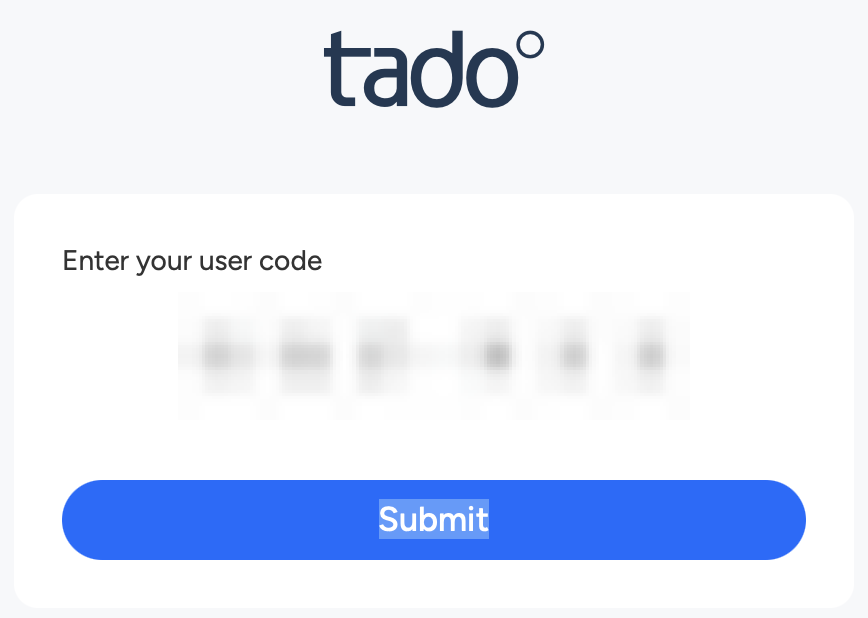
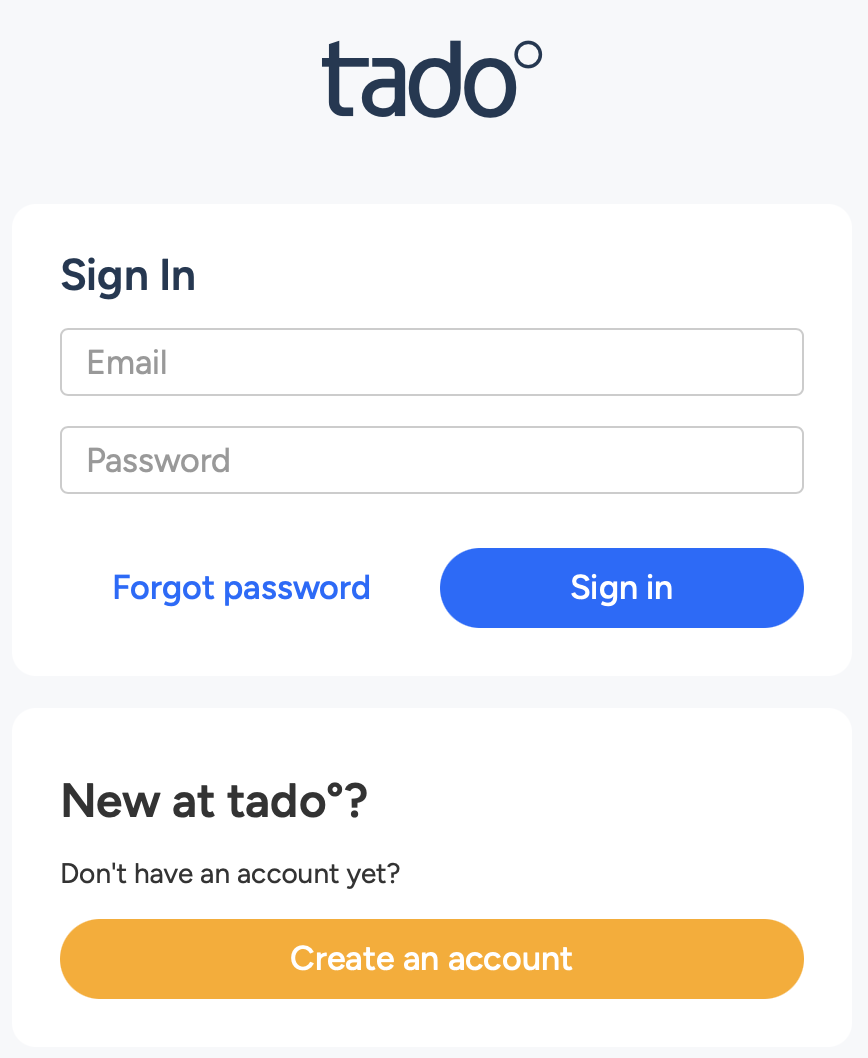
Tap “Submit” and login with your Tado account credentials:
You should see the confirmation from Tado, that the authorization was successful:
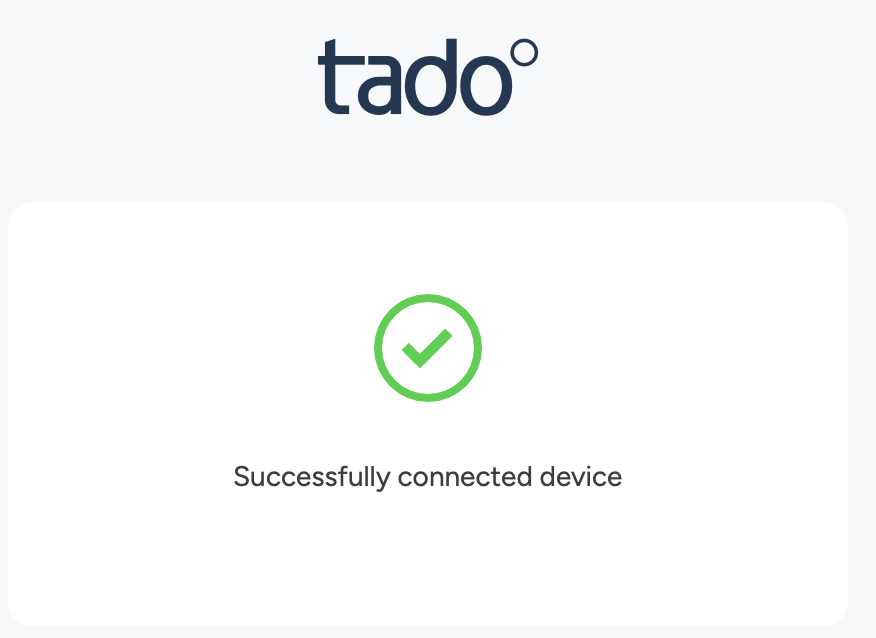
You can close this tab/window to return back to the Apilio.
Step 2: Verify
After you got the confirmation message above from Tado, tap on “Step 2: Verify”:
The Apilio window will now reload. If it was successful, you should see a confirmation message at the top of the window and a list of your Tado zones in the Tado section.
Tado actions
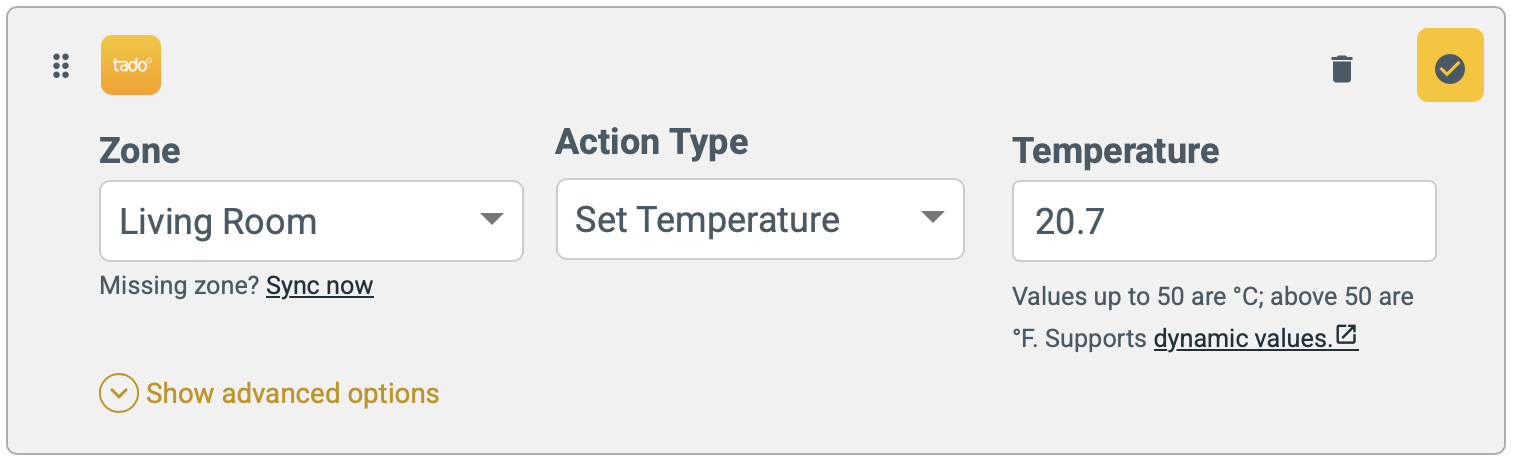
To configure a Tado action, you need to specify the zone, the action type and temperature.
The possible action types are:
- Set a fixed temperature
- Switch off
- Resume auto mode
Temperature values below 50 are automatically interpreted as Celsius, 50 and above as Fahrenheit. The range is automatically limited to between 10° and 32° C (50° to 90° F).
You can also use dynamic values to insert data from variables or device attributes.