Context and Challenge
I like road cycling - a lot. In a four season environment, maximizing days out on the road is a strategic endeavor during the spring, fall, and even winter seasons. One has to keep tabs on the weather to ensure temperature, precipitation, and wind speeds are all in check and within comfortable parameters.
Recently, despite February being a relatively deep-winter month, there was a “surprise” day of good weather. I had already made commitments on this day, but had I checked in advance, I would have scheduled differently.
So I thought about solving this problem by automating the scheduling in advance great days to go cycling based on weather conditions. Thanks to Apilio, I was able to piece this together. (Side note - this also happens to be my first full exercise in coding).
Target Goal and Conditions
In this example, I want to check the weather forecast for 7 days from now, every day, for days that are 8C degrees or greater. In other words, I want the forecast for the 7th day out from today, checked ever day. I like 7 days to start with to allow me the chance to prepare in advance and think about what route I might take, since each ride might take anywhere from 1 to 3 hours. For simplicity, I’m excluding precipitation and wind speed for now - but these can easily be added in.
Approach
The solution uses Pipedream, OpenWeatherAPI, Apilio, IFTTT, and iOS Calendar. In Pipedream, we make an “HTTP GET Request” (i.e., let’s get the data) to OpenWeatherAPI to get the forecast data we need. Also in Pipedream, we then take the forecast data and send it to straight into an Apilio numeric variable via an “HTTP PUT Request” (i.e., let’s put the data) . Pipedream will be set to perform this continuous operation of getting and putting daily - irrespective of whether there are downstream calendar creations or not.
In IFTTT, we create two applets: 1) one to Apilio to check on the numeric variable (is it warm enough yet?), and, if true, then 2) one to iOS Calendar to create the appropriate calendar event.
For simplicity, we let the operation run daily at 6AM and a 2 hour calendar event to be created, so that a potential calendar event is set for 6AM 7 days out.
Detailed Process & Guide
Establish OpenWeather API credentials
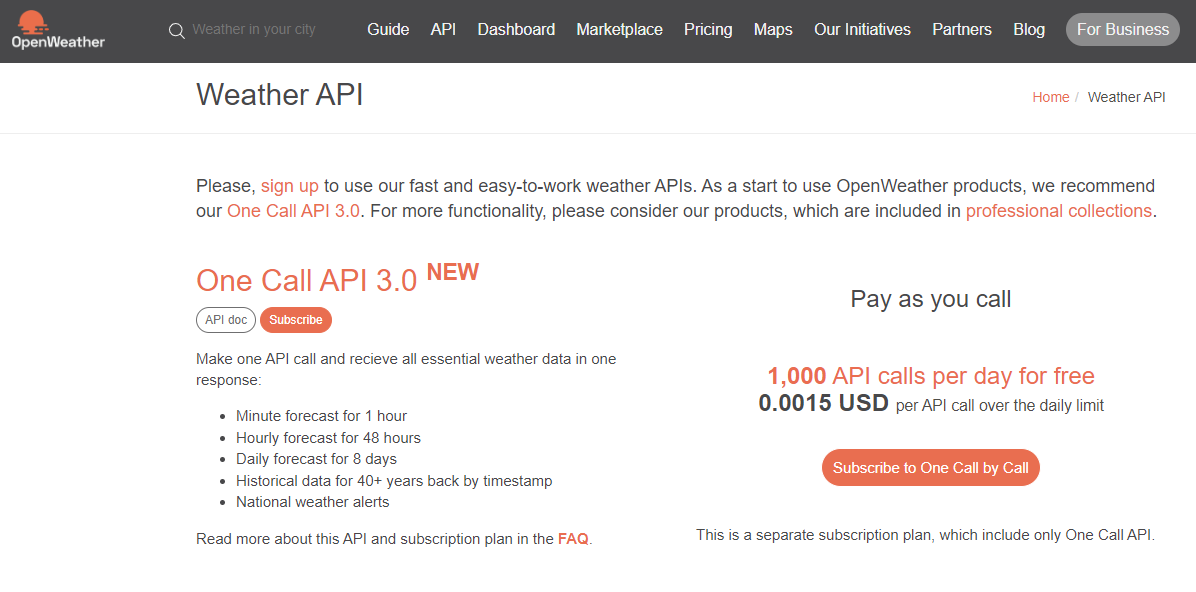
- Navigate to openweathermap.org/api and select One Call API 3.0
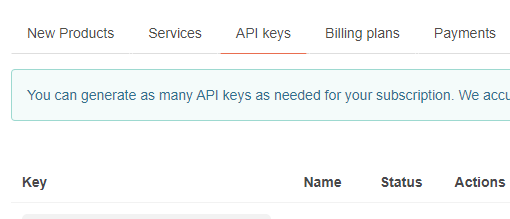
- Retrieve your API key from home.openweathermap.org/api_keys
Setup Pipedream ETL Workflow
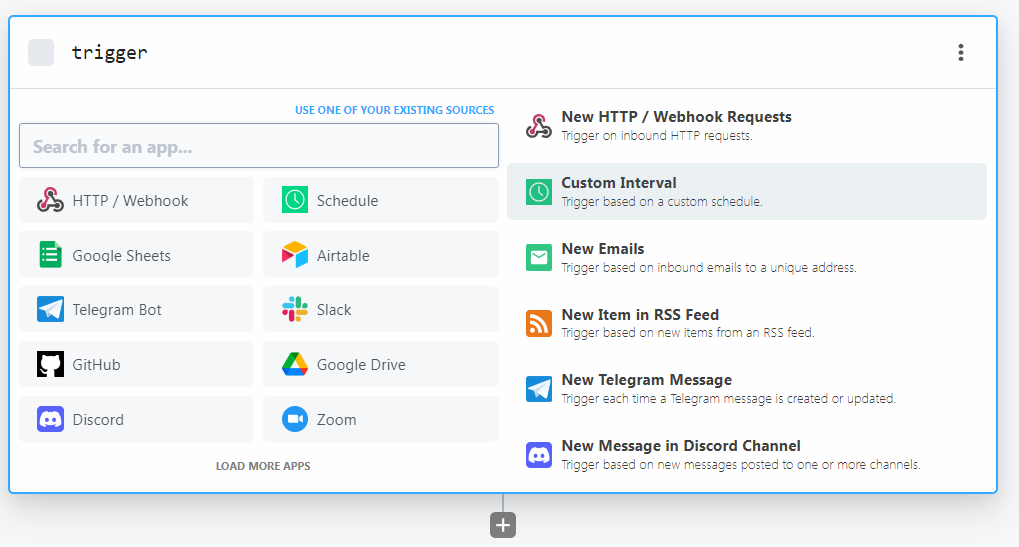
3. Pipedream works in an ETL-style (extract, transform, load) format. Each ETL is a node that conducts an operation. For the first node, setup an interval to run daily (or at any interval of your choosing).
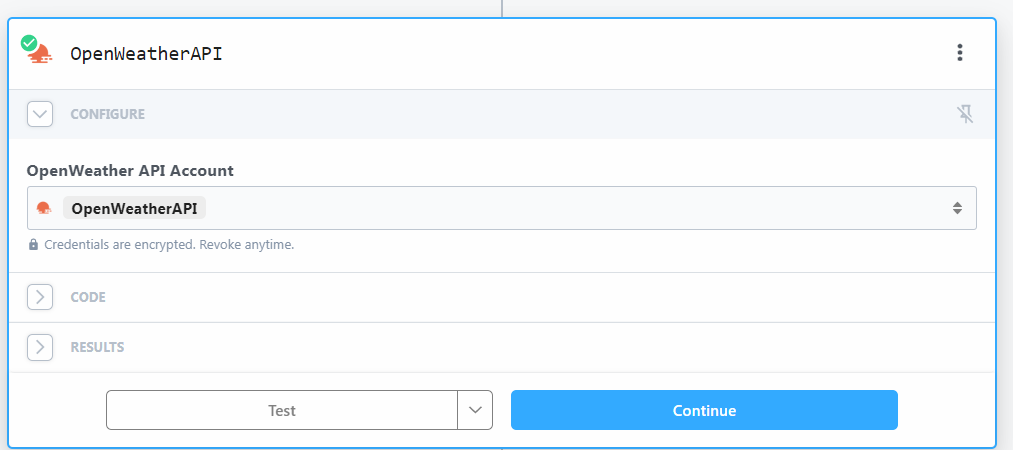
- Connect your OpenWeatherAPI credentials. Pipedream stores credentials at the “account level”, which is more secure since the keys are not at code-level.
- Click code, and type in the below script. Note that the latitude and longitude will need to be replaced with the actual latitude and longitude values of your location. You can retrieve this from Google Maps - any location will typically have the lat and lon in the URL or in the location detail of the address. It doesn’t need to be exact - just close enough to approximate the weather forecast for the region. For example, the Washington Square Park’s Google Maps URL with lat (40.7467173) & lon (-74.0189387):
https://www.google.com/maps/place/Washington+Square+Park/@40.7467173,-74.0189387,13
import { axios } from "@pipedream/platform"
export default defineComponent({
  props: {
    openweather_api: {
      type: "app",
      app: "openweather_api",
    }
  },
  async run({steps, $}) {
    return await axios($, {
      url: `https://api.openweathermap.org/data/3.0/onecall`,
      params: {
        lat: `40.7467173`, //your lat
        lon: '-74.0189387', //your lon
        cnt: '7', //this the number of forecast days you want, up to 8 under the One Call free subscription
        units: 'metric',
        appid: `${this.openweather_api.$auth.api_key}`,
      },
    })
  },
})
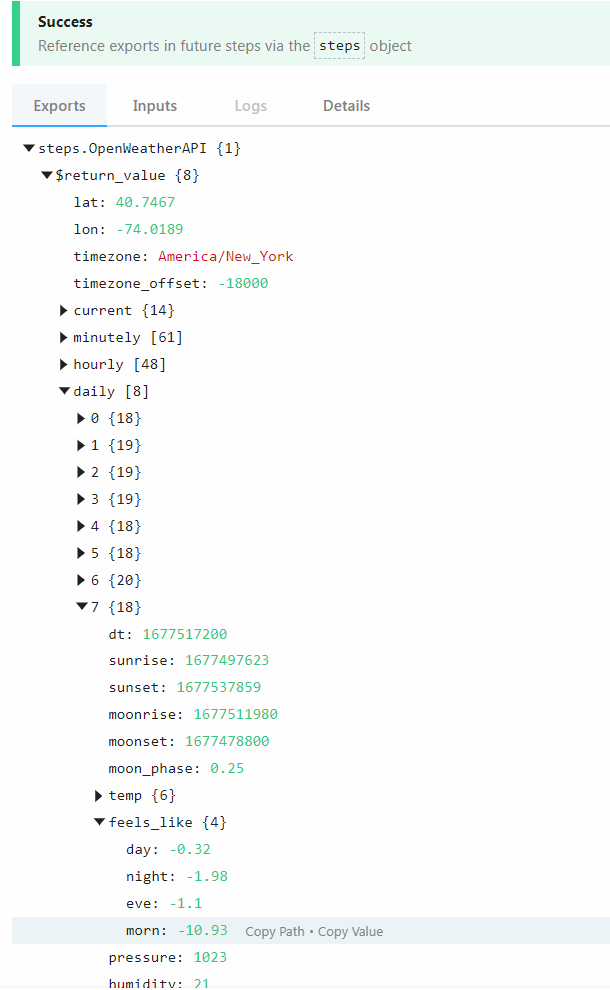
- If you performed the steps correctly, you’ll be able to see all the OpenWeather forecast data under the Results section. In our case, we will use the “feels like” morning temperature in the 7th day out. Again, other parameters can be used as well to create the “perfect riding day”, but this example will just use what the temperature feels like.
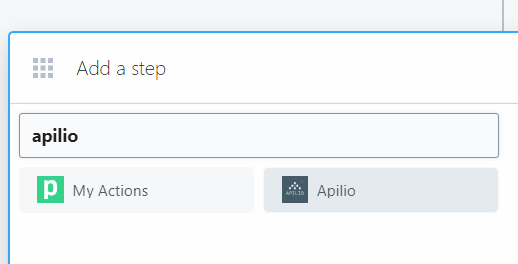
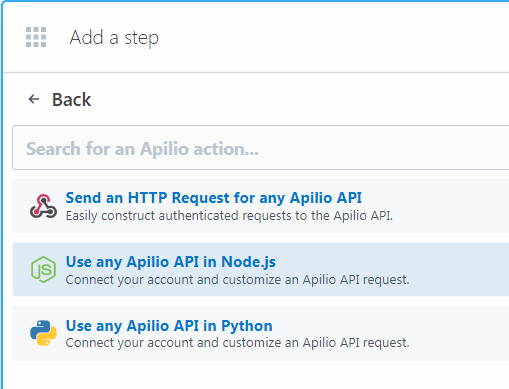
- Create a new step/node, and search for Apilio. Click Apilio, and ensure to click Use any Apilio API in Node.js in the subsequent prompt. We will need to impart additional nuances in the code.
- Enter your Apilio credentials under the Configure section.

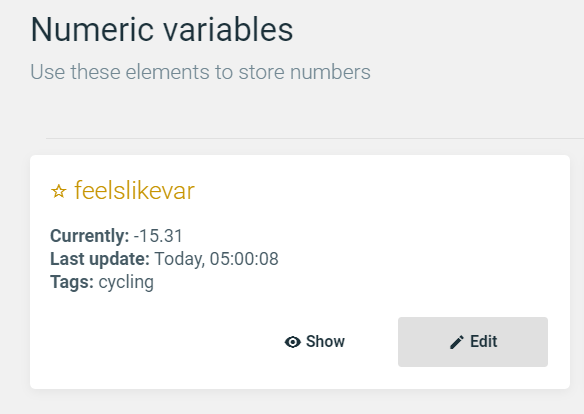
- We’ll take a pause here - we’ll need to perform a couple steps in Apilio before moving forward. So let’s revisit Apilio web app. Go to Numeric variables and create a new variable. You can input any value for “Currently”, or leave it blank - it doesn’t matter.
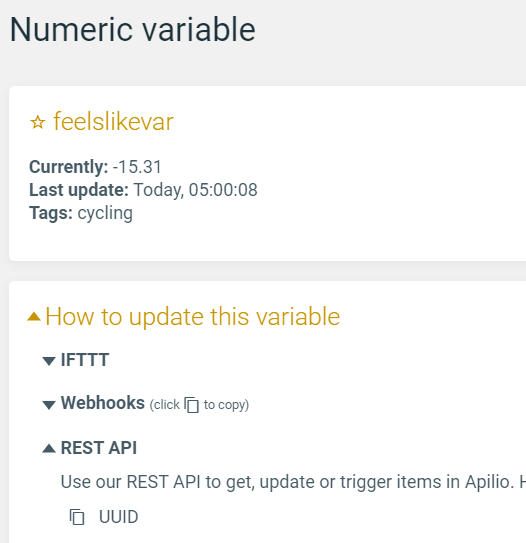
- Copy the UUID of the numeric variable in the clipboard - shown in the bottom of the below image.
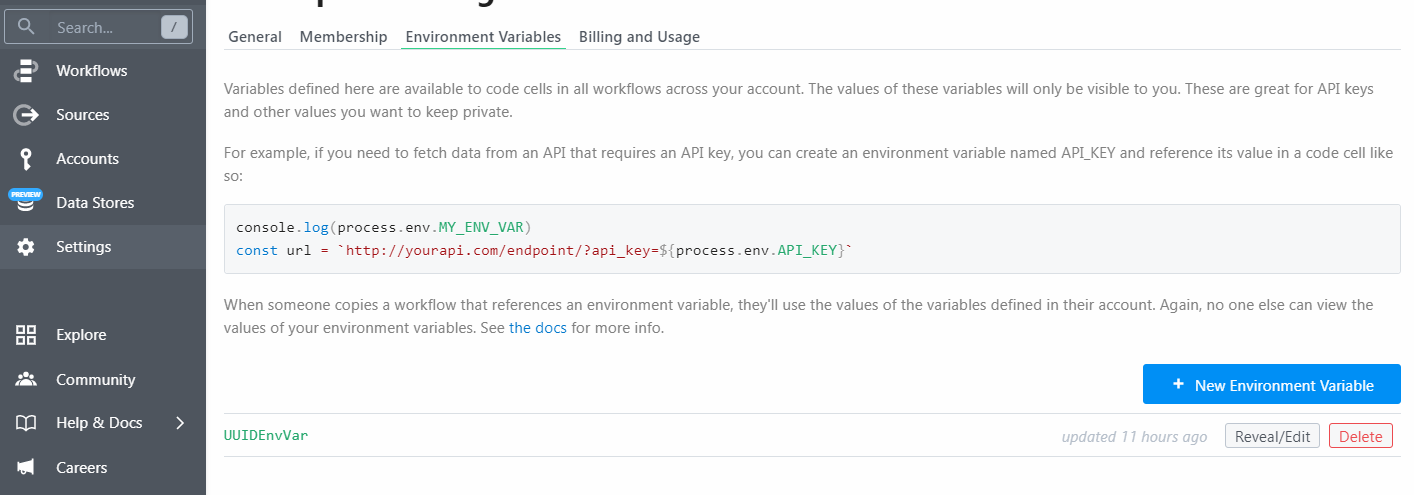
- Exit the workflow in Pipedream, and navigate to your settings. Go to Environment Variables and create a new variable, here named UUIDEnvVar. Past in the UUID there. This allows us to keep the API key for the numeric variable link above code-level.
- Back in the workflow, we return to the Apilio code and use the following script. Note how we refer to the path to the morning temperature, as well as the UUID environment variable.
import { axios } from "@pipedream/platform";

export default defineComponent({
  props: {
    apilio: {
      type: "app",
      app: "apilio",
    },
  },

  async run({ steps, $ }) {
    const feelslikeresponse =
      steps.OpenWeatherAPI.$return_value.daily[7].feels_like.morn;

    let data = JSON.stringify({
      numeric_variable: {
        value: feelslikeresponse,
      },
    });

    const { UUIDEnvVar } = process.env;

    const { config } = await axios($, {
      auth: {
        username: `${this.apilio.$auth.username}`,
        password: `${this.apilio.$auth.password}`,
      },
      method: "put",
      url: UUIDEnvVar,
      headers: {
        "Content-Type": "application/json",
      },
      data: data,
    });
    return feelslikeresponse;
  },
});
- If the above steps are performed correctly and prior steps are ran, a preview of the temperature value will be shown if you hover over “morn”:
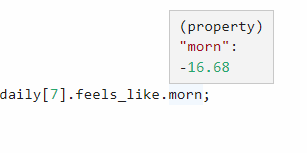
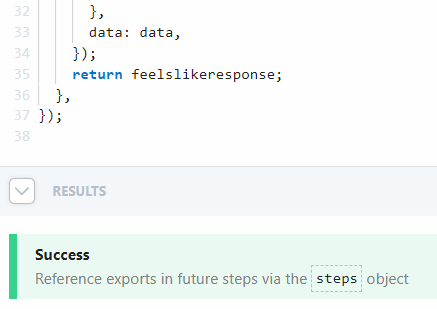
- We’re almost there - click test, and you should be able to see “Success” in Pipedream, and the numeric variable updated in Apilio. At this point, we are done in Pipedream, so click deploy to activate the workflow.
Pipedream:
Apilio:
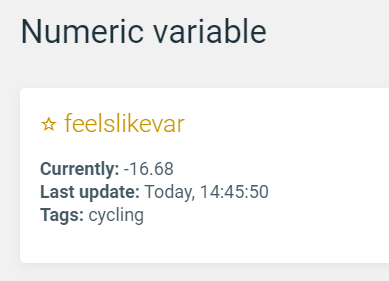
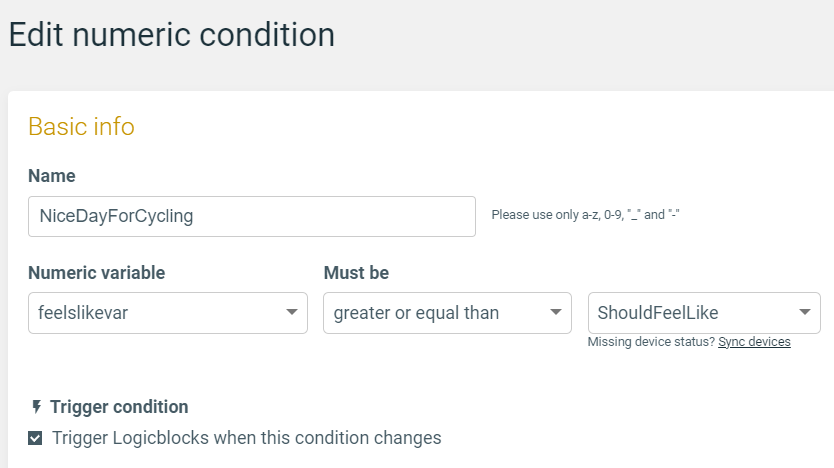
- With a live temperature forecast in hand on Apilio and captured as a numeric variable, now we just need a condition to specify the rule we need. We create a second numeric variable and store a static threshold number, such as 8C degrees, and a condition to compare the two:
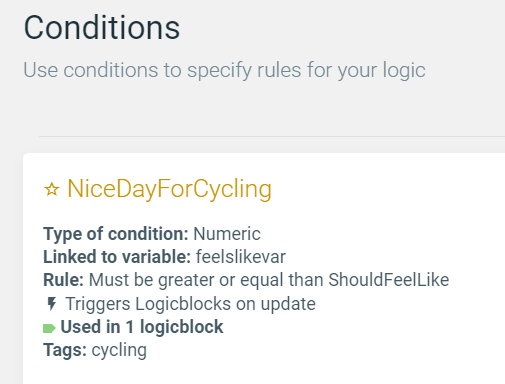
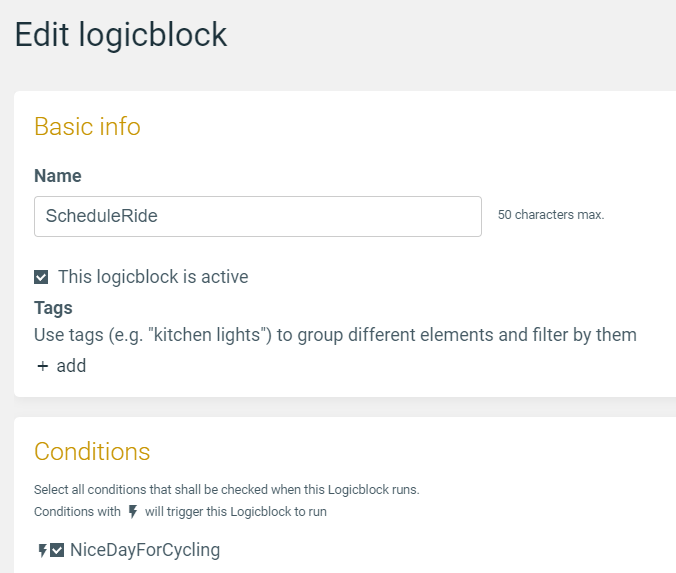
- Finally in Apilio, we create a Logicblock to actually check on the condition and what to do if it’s true:

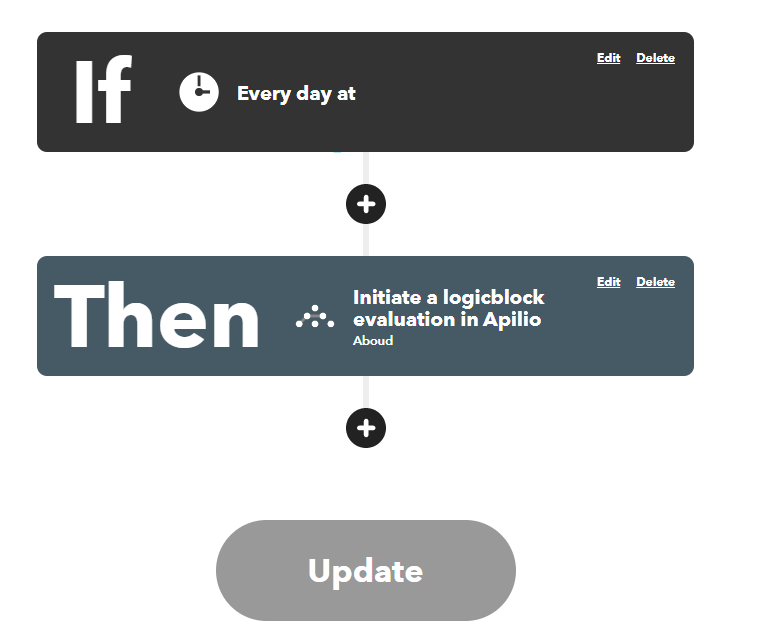
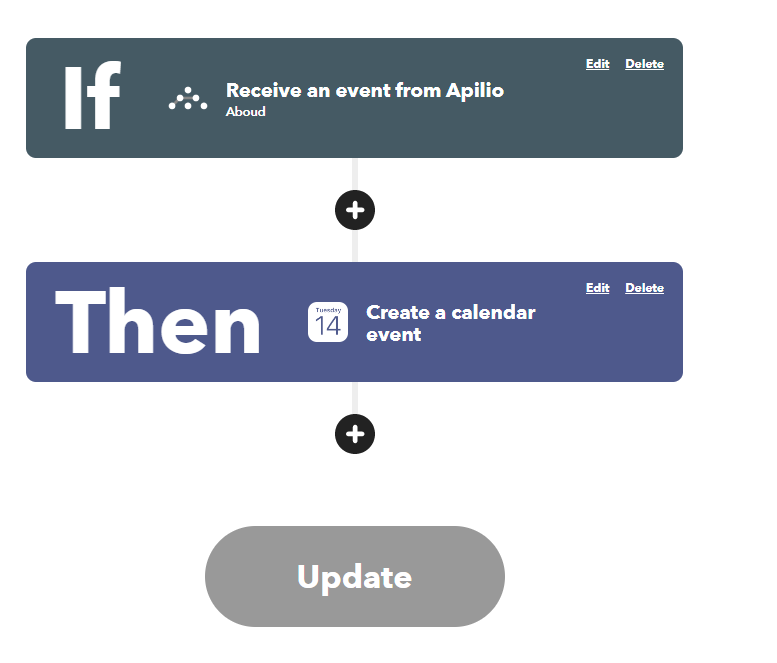
- In IFTTT, we create two applets: 1) one to run daily to check on the logicblock, and 2) one to create the iOS calendar event if it’s true.
First Applet: Ensure to choose the Logicblock created in Apilio
Second Applet: You can specify length of calendar event (e.g., 2 hours), customize title, notes, and choose which calendar it lands on if you have multiple.
Closing
You can quickly test the applet by setting the condition to something that you know will evaluate to be true right now, as well as changing the trigger time in Pipedream to something within the next few minutes. If all is green, you should see a calendar event 7 days from today to go out cycling.
Feedback Welcome
Hope this process is useful or provides ideas for other applications. If you have any feedback, critiques, or comments, please let me know - still new to coding in general, so I’ve pieced together what I thought made sense and was overall streamlined from a process standpoint.