Evaluating logicblocks and triggering actions with IFTTT
If you are already have your variables and conditionals setup, it is time to get them to work for you in a logicblock.
Logicblocks are the core of the logic operation in Apilio. Apilio allows you to daisy-chain several IFTTT applets so that you can build your own complex automations. It’s like superpowers for IFTTT! And you don’t need to write any code to set these up.
Apilio acts as a referee that sits in between minimum two IFTTT applets. Instead of having an automation that runs an action every time some event happens (if this then that), Apilio will check if one or more additional conditions are met, and then will tell IFTTT to run one or more actions.

Let’s have a look at a few examples, I’ve highlighted below the condition that Apilio allows you to check for each case before running your actions:
- If I arrive home and it is nighttime, then turn the outside lights and the kitchen light on
- Everyday at 9PM, check if tomorrow is going to rain or snow then turn off the robot mower for 24h and do not water the plants
- If I disconnect from home wifi and my partner disconnects and my children disconnect and the cat disconnects, then turn off every smart light and every smart plug in the house
Setting up a logicblock
In Apilio, select Logicblocks on the left hand side menu. Then “New logicblock” to start your setup:
-
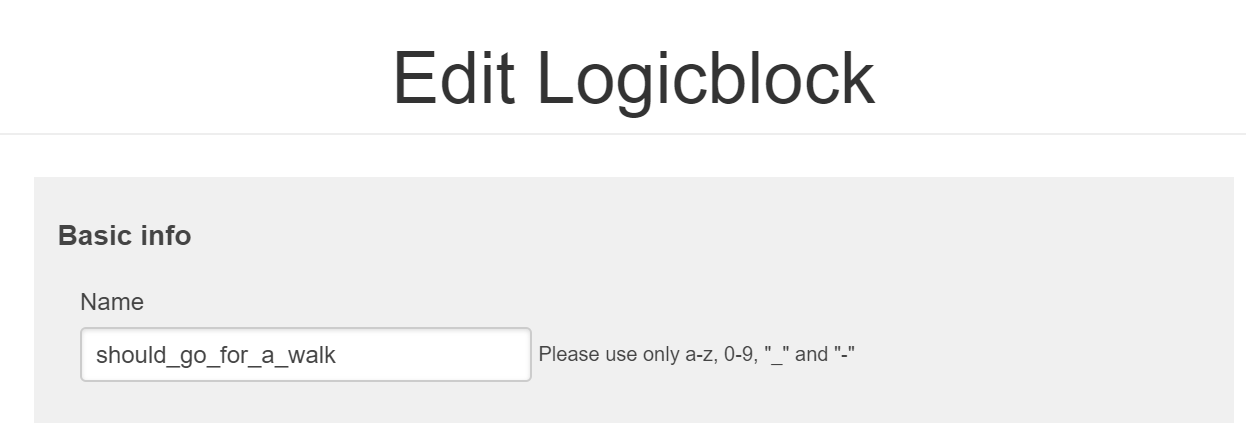
Give your logicblock a name to identify it within Apilio
-
In Conditions, choose the ones you’d like to check for this logicblock.
-
You should also choose how your conditions are linked
-
The default condition linking is a simple AND: all of the selected conditions must be true in order to evaluate the logicblock
-
If you’d like to setup a complex condition link, check this article.
-
Next, we are going to setup the action chains
If you’d like to know more about how conditions work, have a look here.
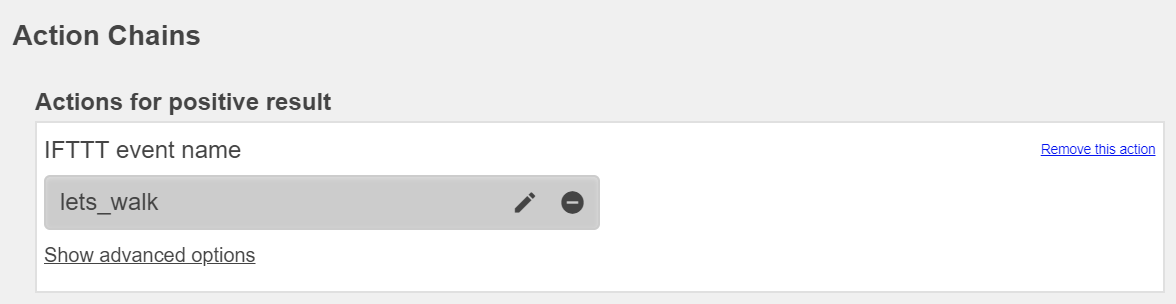
Setting up your action chains
Your action chains are the list of actions that you’d like Apilio turn if the condition is evaluated to be true (positive result) or false (negative result).
So for example, if your condition checks whether is is daytime, if it’s currently 10AM, then the condition will be true and the positive actions will run. But if it is 10PM, then the negative actions will run.
It is not necessary to setup both positive and negative action chains: your logicblock only needs minimum one action in either list (positive or negative) to have an impact.
- In Apilio on the Logicblock, you will enter your event name that IFTTT will be expecting. This will be the signal that tells IFTTT it is time to turn off a switch, turn on the heating, send an email, add a line to a spreadsheet… Note that it is possible to reuse the event names. Then, head over to IFTTT to setup an applet to run this action.
- Go to IFTTT now and select “create” to start building your own applet (https://ifttt.com/create).

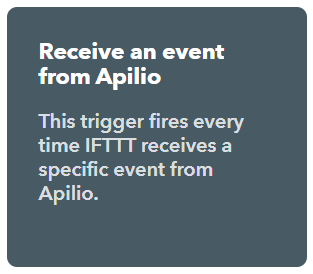
- For the “If this” part, select Apilio and then “Receive an event from Apilio”
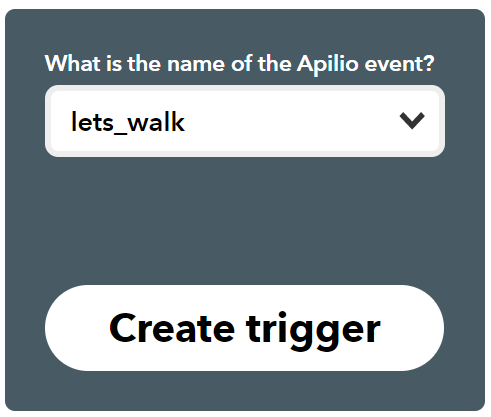
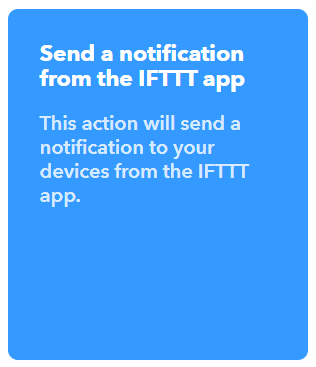
- For the “then that” part, select the service you’d like to trigger. This can be your smart switch, your smart lightbulbs, etc, or connected services. Here we are going to choose to receive a notification:

Feel free to change this message to suit your needs:
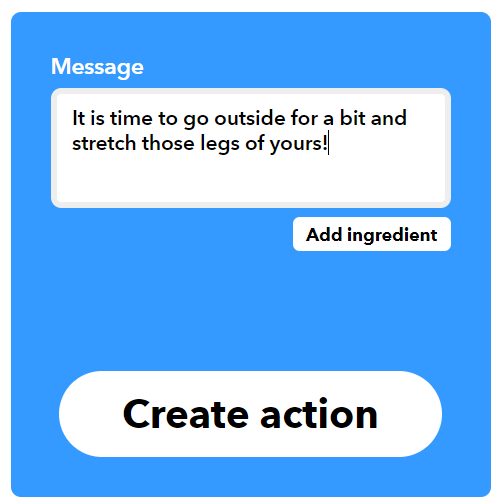
- Review and click complete to finish setting up your applet, you are done!
Evaluate your logicblock
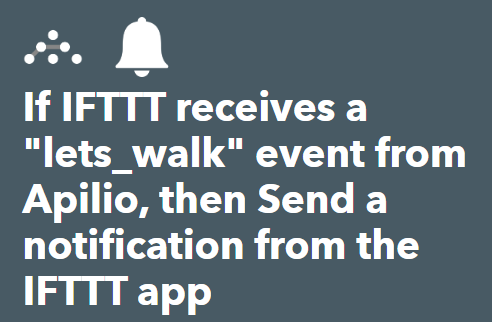
To evaluate your logicblock from IFTTT, you will create an applet that, whenever a specific event happens, then a logicblock will be evaluated.
Once you have saved a logicblock on Apilio with a name, you will be able to see this name also on IFTTT. As we did this earlier, we just have to create our applet to then choose our trigger to launch the evaluation! Continuing with the previous example, every day at 10AM I want to check if I’m still home and, if I am, I want to receive a message to remind myself to go out for some fresh air. Let’s see what we need to set up:
- Go to IFTTT now and select “create” to start building your own applet (https://ifttt.com/create).
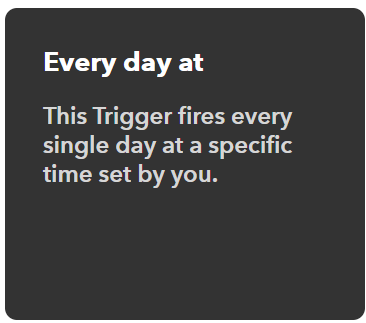
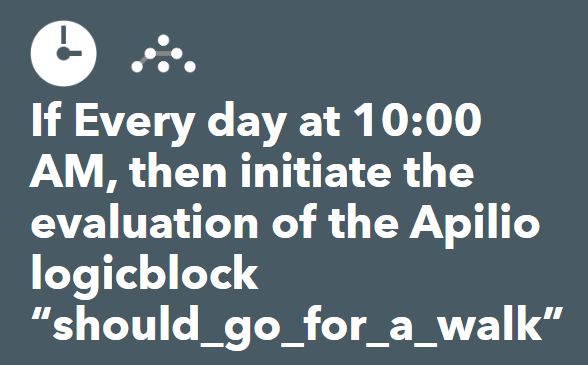
- For the “If this” part, select date and time, and then every day at 10AM
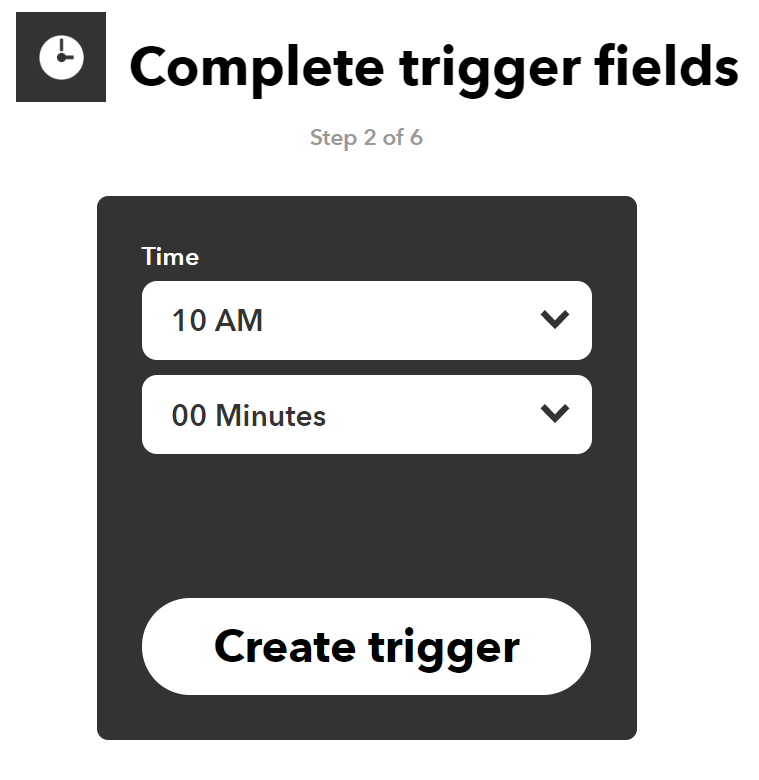
- For the “then that”, select Apilio and then evaluate the logicblock you created earlier:


- Review and finish your applet, you are ready to go!
Have a look at these examples that will show you how to update each type of variable via IFTTT:
Also check: